How to Transfer Photos from Android Phone to USB Flash Drive
Smartphone technology evolves every second, and consumers are getting exposed to new features. Cell phone manufacturers are making devices to facilitate the consumers in the best way possible.
Gone are the days when cell phones were only used to communicate with others. Modern devices are smarter and offer various amazing features.
There are countless things you can do with your Android Phone. You can capture images and make videos. When you make memories using a cell phone camera, you want to ensure you do not lose the content.
To keep your memories safe, you usually need to transfer files to another device. And people use USB 32GB flash drives to secure their data. But people often come through an issue of now knowing how to do that.
Let’s find out through some easy steps to transfer pictures from your android phone to a USB flash drive.
How to transfer pictures from Android Phone in 2022?
Now let’s find some of the easy steps to quickly transfer your files to the USB flash drive. The process is straightforward.
1. Connect your smartphone to your PC
1-First of all, all you need to do is connect your android phone to your PC through a USB cable.
2-When you successfully connect your android phone with a PC, you will see a notification pop up on your phone – Transfer file or charge only.
3-Select the option transfer files by tapping on the phone. Once you select the option, you will be allowed to transfer files.
2. Connecting the USB flash drive
Do you see another port in Your CPU?
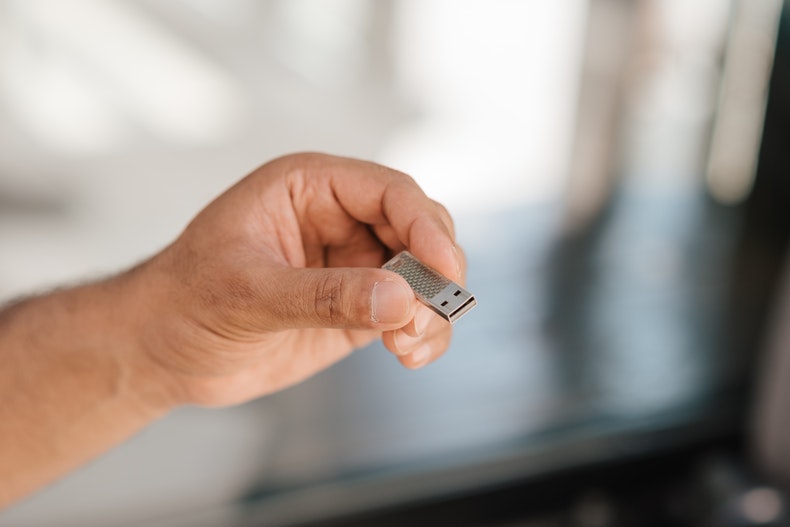
Connect your USB flash drive through this port to your CPU.
Ensure that you have connected the USB flash drive strongly so that it would not disconnect during the transfer of files. If it is dislocated during the transfer of files, you may see some files fail to transfer.
3. Transfer Pictures from Phone to flash drive in 2022
1-In the first step, you would have to select the PC option for your computer.
Open your android phone storage option by selecting the device and driver section on your PC.
2-Go to the internal storage and look for the DCIM folder.
3-You will see that all the camera pictures are available and ready to be transferred in this folder.
4-When you get into the DCIM folder, you may see a number of sub-folders. Only select the one from which you want to retrieve data and transfer.
5-To transfer files from Android to a USB flash drive, you can simply drag and drop the pictures from their folders to a USB flash drive.
6-Once you have transferred the data you needed, carefully unplug both your smartphone and USB flash drive.
How to Transfer Pictures from Phone to flash drive via OTG Cable?
If you search for a solution that allows you to directly transfer your file to a USB flash drive, then an OTG cable is the way to go. OTG enables you to share files from your phone to a flash drive without the help of a computer.
You can simply check In your phone setting if your phone supports OTG cable or not. Let’s find out the steps you need to follow in order to transfer files with OTG cable.
Steps
1-Before anything else, the first thing you need to do is to connect your flash drive using an OTG cable.
2-For this, you use the larger USB port for the flash drive.
3-The next thing you need to do is connect your android phone with the OTG Cable by using the smaller Micro SD connector point.
4-You must connect your phone properly to ensure the smooth transfer of files. If you keep it loose, you may face disruption during transferring process.
5-After connecting your phone, the notification will pop up on the screen mentioning the OTG cable connection.
6-Allow the transfer of files from the Android to a flash drive.
7-You cannot just directly pick the photos from the gallery in this process.
8-You need to open the DCIM folder from the internal storage option.
Find the photos from the DCIM folder and choose the ones you wish to transfer to a flash drive.
9-After selecting the photo, simply copy them and move them to the USB flash drive or else you could drag and drop them.
Conclusion
Well, now you know how to transfer files from your android phone to a USB flash drive. I hope you found the step as easy as they can be. These methods are very simple and can help you transfer your files more quickly than expected.
USB flash drive is an amazing tool to keep your precious data secure. There are always many methods to do these things, but we will suggest you use the route that you find convenient.
FAQ’s
Can the same methods be applied to IOS phones?
Well, Since you know the fact that IOS and Android offer totally opposite features. So, there are chances these methods would not help you for transferring files from your IOS to a flash drive. But certainly, there will be different methods that you can apply.
How quickly can the files be transferred using these methods?
Well, to be honest, it mainly depends on the size of the file. But at times, the version of your computer affects the transferring speed as well. To ensure you have a compatible device to transfer the files. However, You can use the same method for any device.
Are there any better ways to do the same thing?
Yes, there are possibilities. But we have tried to come up with the easiest of all. So that from kids to grandpas can easily follow these steps to transfer the files.


